
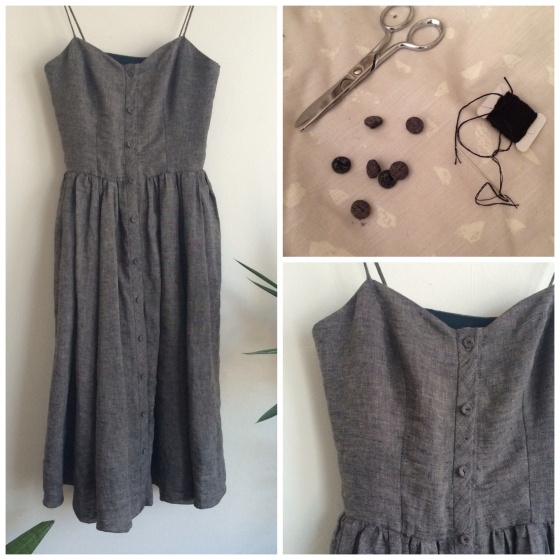
fabric covered buttons added a nice, high-quality touch to my simple sundress
One of the best things about sewing your own clothes is having the opportunity to add the special details that make a garment uniquely yours. Fabric covered buttons are a simple, easy way to add interest and detail to your garment. Covering your buttons is a great way to upgrade less than stellar buttons from your stash or to save yourself the work of hunting high and low for the perfect match to your project. This method for covering buttons is easier, less expensive, and more delicate than most of the covered button kits on the market.

let’s get these naked little buttons covered!
What you’ll need:
- Find yourself some buttons with two or four holes, not shanked.
- The best fabric for this application will be weighty enough to withstand some manipulation and tugging but lightweight enough to wrap snuggly around the button, and it won’t easily fray. Here, I used a linen blend. You won’t need more than a tiny scrap of fabric.
- You’ll also need a needle, thread to match your covering fabric, scissors, and some fray check.

How to:
- Trace and cut a round of fabric that’s about twice the circumference of your button. Here I used a quarter as a template for my 1/2 inch button.
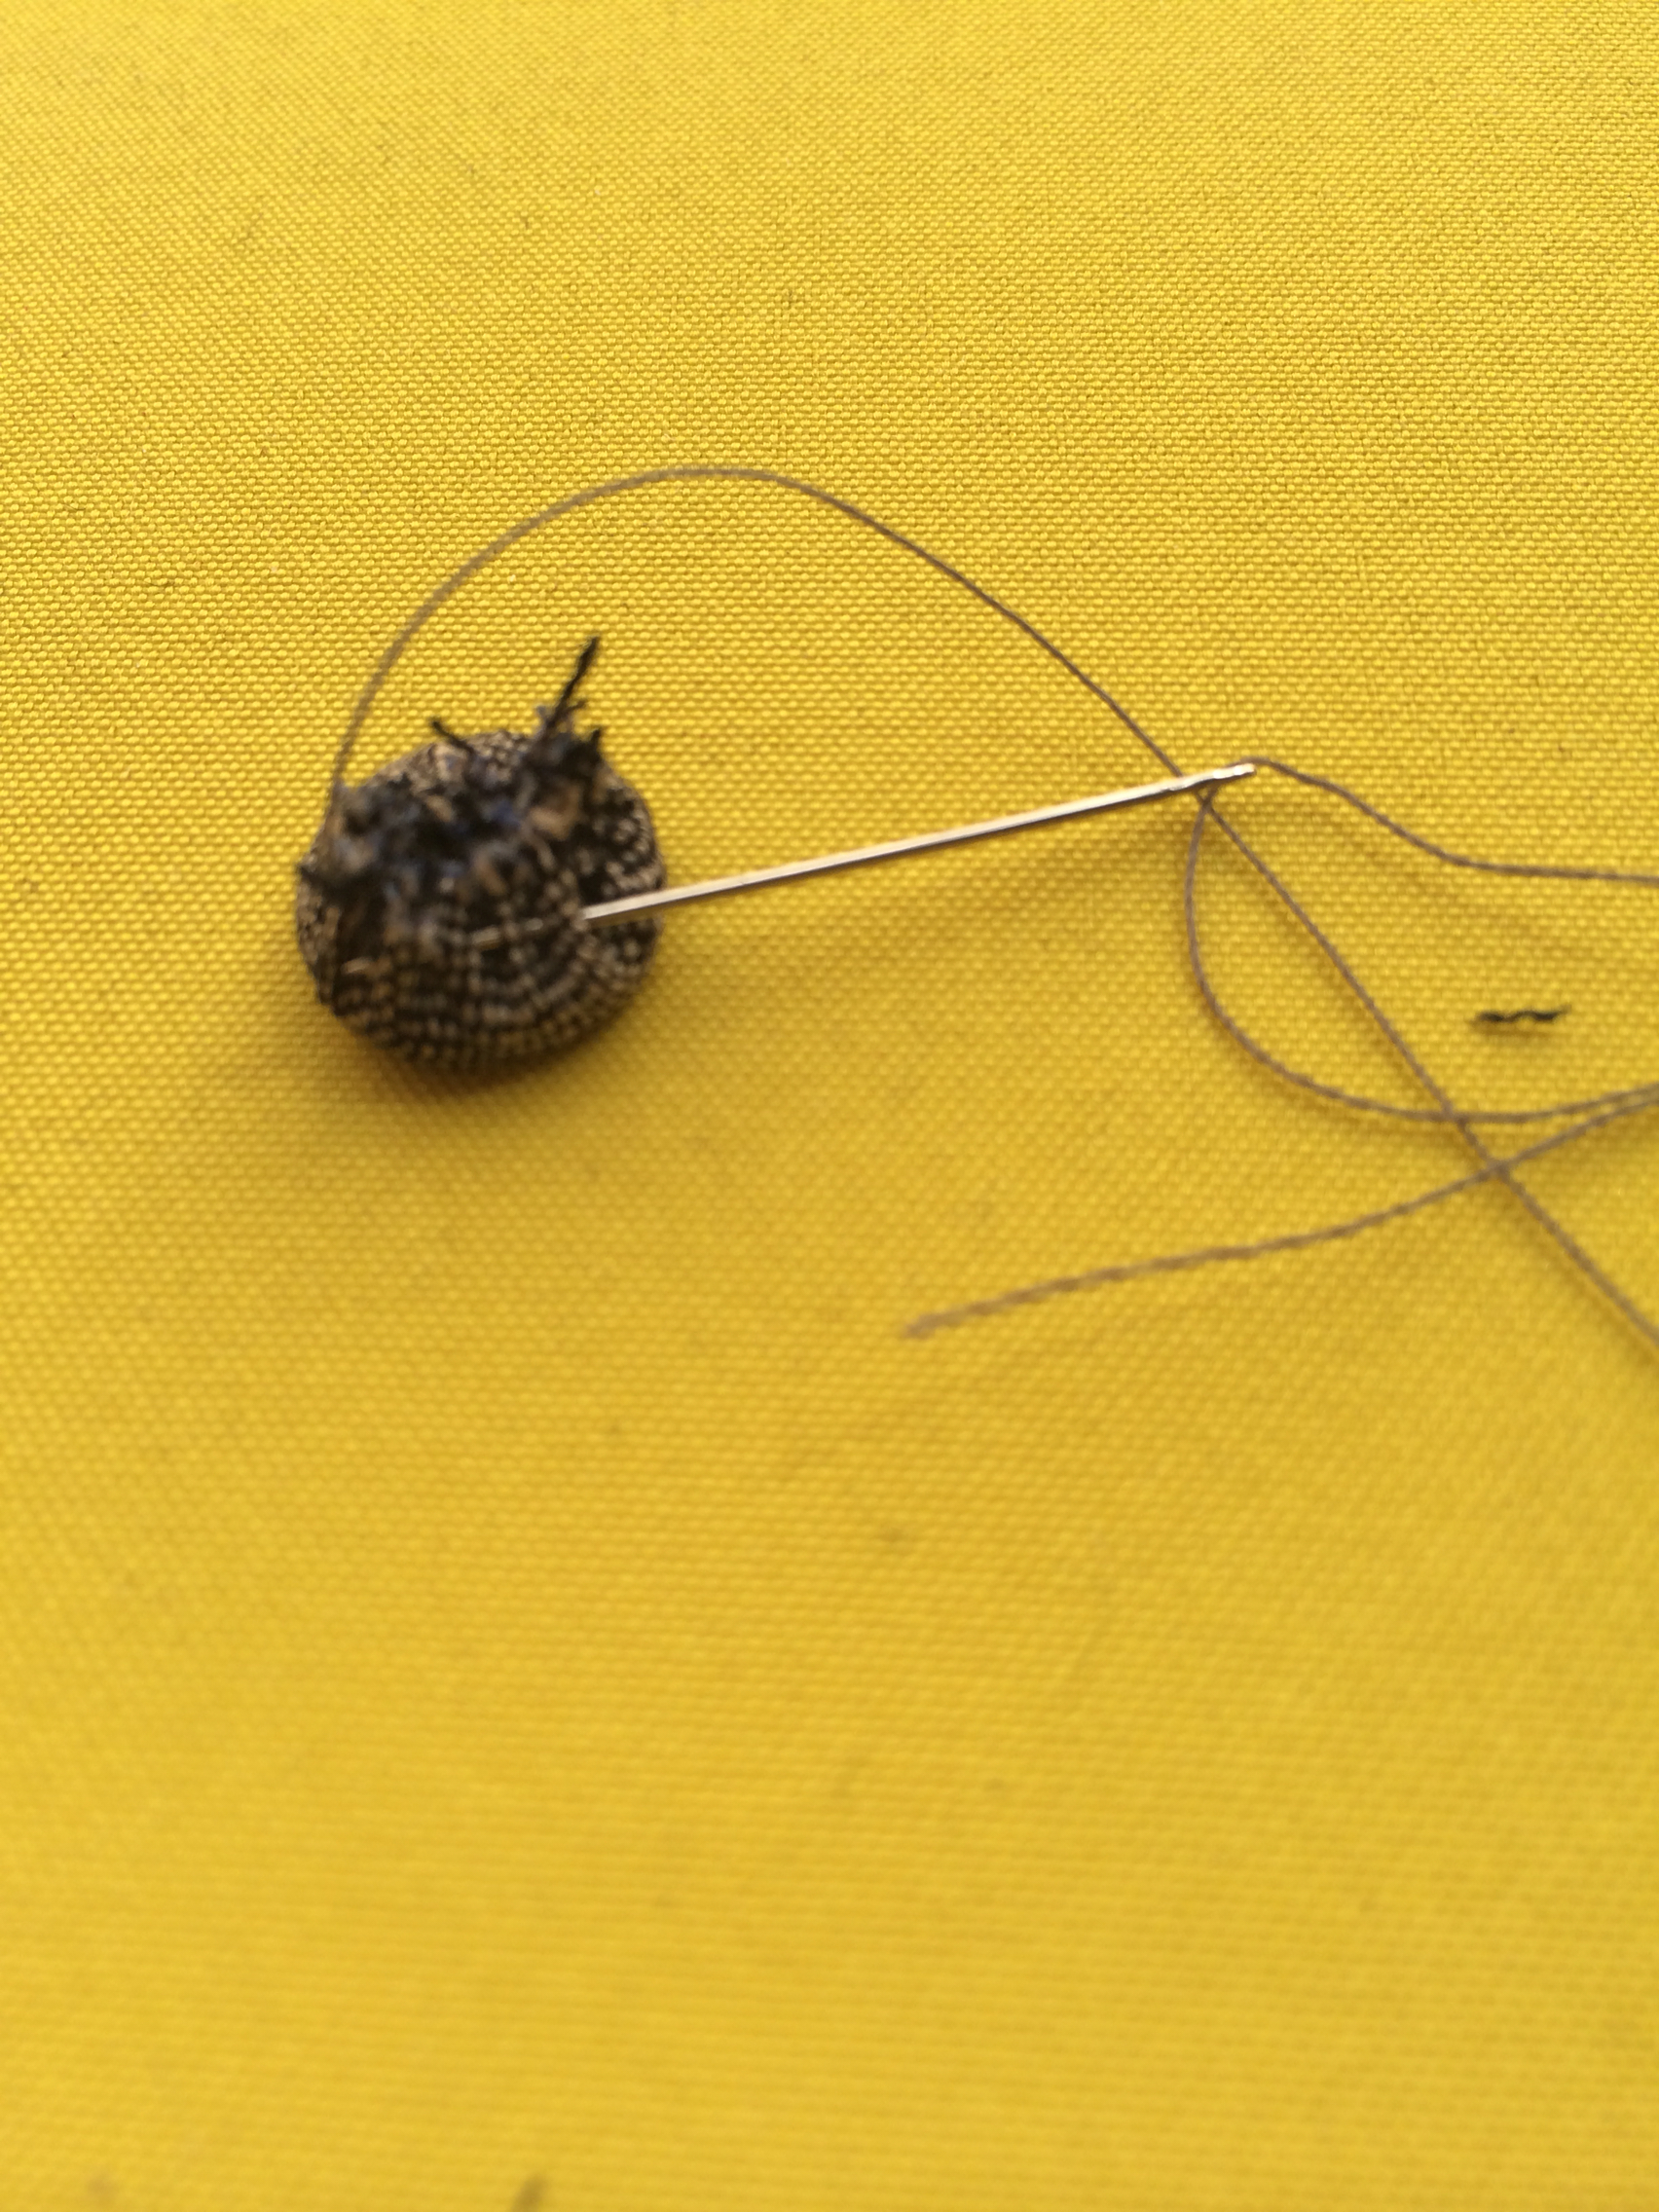
- Leaving about 1/8 inch seam allowance, sew a running stitch around the edge of the fabric round. You might want to secure your thread with a backstitch as you begin; a knot alone may not be secure enough to hold.

- Don’t knot off your thread once you’ve stitched all the way around. Instead, start tugging the thread and gather the round into a cupped shape. I used the tip of my thumb to begin easing the fabric into position. (Try to keep your needled threaded during this step.)
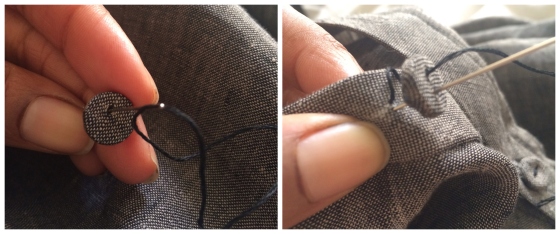
- As the fabric begins to cup, drop your button in (see below). If your button has a front and back, place the button with the front facing down against the fabric. Use your finger to keep it centered as you pull the thread, tightening the fabric around your button.

- Take a few stitches around the little folds of fabric at the back of your button, reinforcing the gathers you just made.
- I also like to pass the thread beneath the entire mound of folds once or twice before knotting off.
- Knot and trim your thread. You may also want to trim down the fabric gathered at the back of your button. It’s cool to trim off any stray threads, but be careful not to snip through the securing stitches you’ve just made.
- Drop a little fray check over the whole business for extra security. Buttons can take a lot of wear and handling over the lifetime of a garment, and this helps ensure our covers are secure enough to last.
- That’s it! Look at that sweet little button!

- When attaching your buttons, check with a needle first to find out where your buttonholes are. I like to wiggle my needle around to open up the weave a bit and clearly mark the openings.
- I used 3 plys of embroidery thread to attach my buttons. I made two passes through the fabric + button, then I wrapped the thread twice to make a shank before knotting off.
- I took the simple route and used self fabric for my buttons, but think of all the fun ways you could use this application! It could be cute to use a bit of your lining fabric to make a co-ordinated button. You could also use the wrong side of your self fabric to create a similar but different look for your buttons. Or imagine if you used a vintage silk scarf or repurposed the fabric from a stylish old tie?
- It might also be a nice touch to tack your buttons down with French knots, instead of just a simple strand of thread.
- Finally, you might want to make a spare button or two while you’re at it. It would be sad if, sometime in the future, you lost one of your couture buttons and no longer had access to the fabric you used to cover it.

I hope you’ve found this helpful, and please do let me know in the comments if you have any questions!
So, what do you think? Do these covered buttons look like something you might try on an upcoming project?
I made buttons like this but I didn’t use Fray Check and guess what, the frayed. Didn’t even think if it. Thanks for the tip for next time!
Yeah, you gotta seal those little suckers up! Hope this helps make for a better outcome next time.
This is so cool. It’s really making me want to learn to sew! There’s a place here called Stitch Lab that offers tons of classes, and I think you might have inspired me to finally sign up in the fall.
Do it Taylor! Seriously, sewing is so much fun + hard work = seriously rewarding. I know you love your fashion, & I feel that sewing gives so much power and control over what you wear and how you feel in it. Plus, you’ll see overpriced things in boutiques and be like, “Nah. I can make that.”
I’ve never covered buttons myself and hadn’t really thought about it, so thanks for this! You’ve got me thinking about where I could use some. I’m hanging out for the Grainline shirt dress release, I could see myself using covered buttons for that, for sure.
Yes, that new Grainline dress is going to be a hit. It would look totally great with some cute little covered buttons too!
Great tutorial! I was wondering how you covered those buttons on your lovely dress. I’ve only ever used the self cover buttons before with the little tool thingy but these small ones are much neater and less clunky. Thanks! Will def be giving this a go. Tried to search for that pattern on ebay / Etsy / everywhere…couldn’t find it! Guess you got lucky girl!
Yes, I did some hunting around for this pattern myself, hoping to point you and and the many interested others in the right direction, sadly to no avail. I did get lucky to have been gifted this one, but it bums me out not to be able to share the love. Glad to hear that about the tutorial though!
Pingback: my ideal dress | SewStylist
This is a great idea!!
Such a great idea – to actually cover buttons – as opposed to using those covered button kits. Thanks for the tutorial – I’ll keep it in mind for future projects!
I would love to see what good things you could do with this one!
Pingback: DIY Leggings + Wrap-front Blouse - Ada Spragg
Pingback: Tips and Ideas for Sewing Cover Buttons, DIY and Store-Bought | Stale Bread into French Toast
Thanks for the inspiration! I love the idea of covering plain buttons already in my stash, and the flexibility to make them whatever size & style I want. I played around a bit and ended up posting about my version & ideas for simple embroidery on them (linking back here of course). Thanks again!
Hey, Tasha! I love what you did with your buttons! So much more detailed and couture. Way to keep the inspiration flowing, as I am looking forward to applying your techniques some day soon!